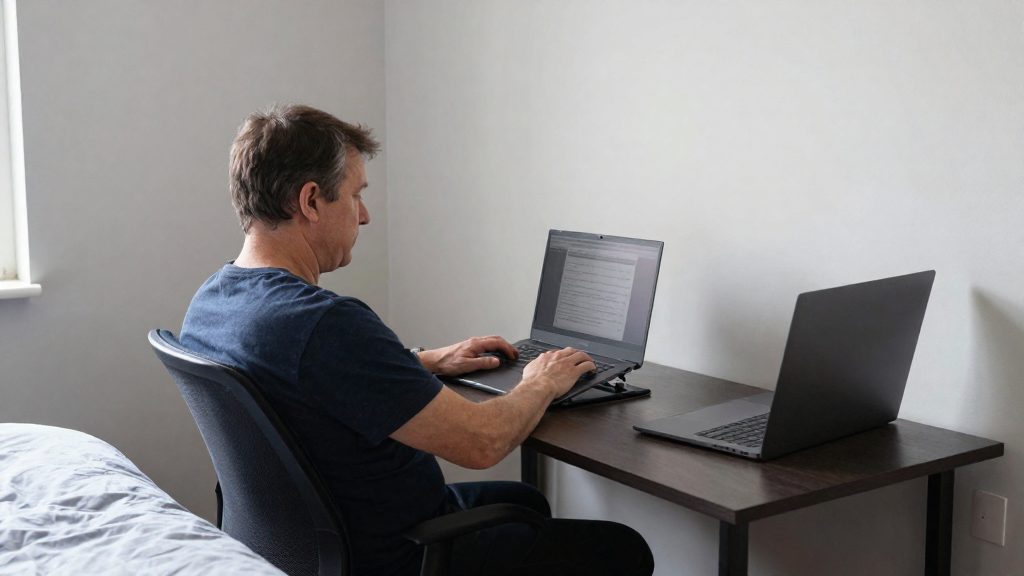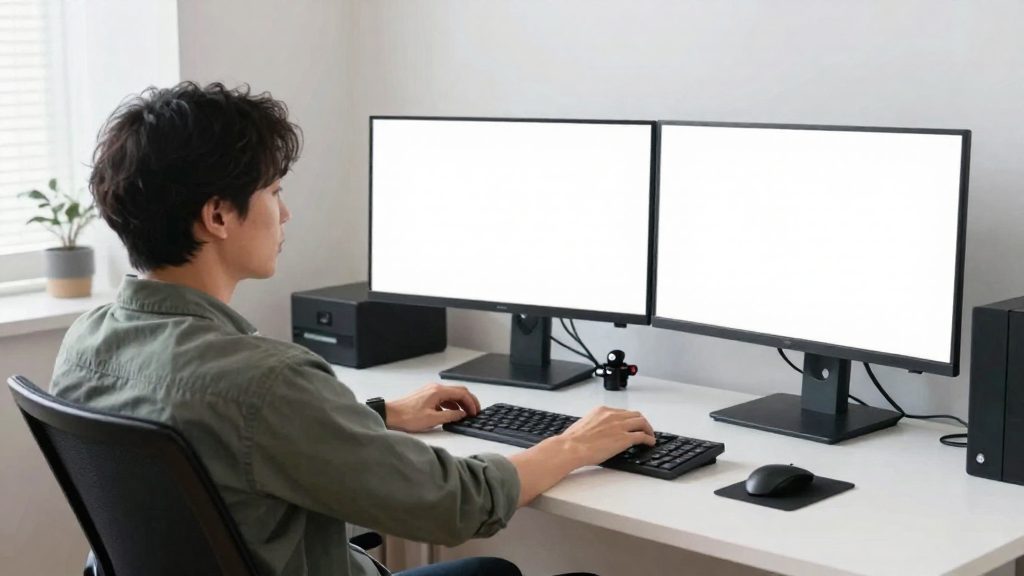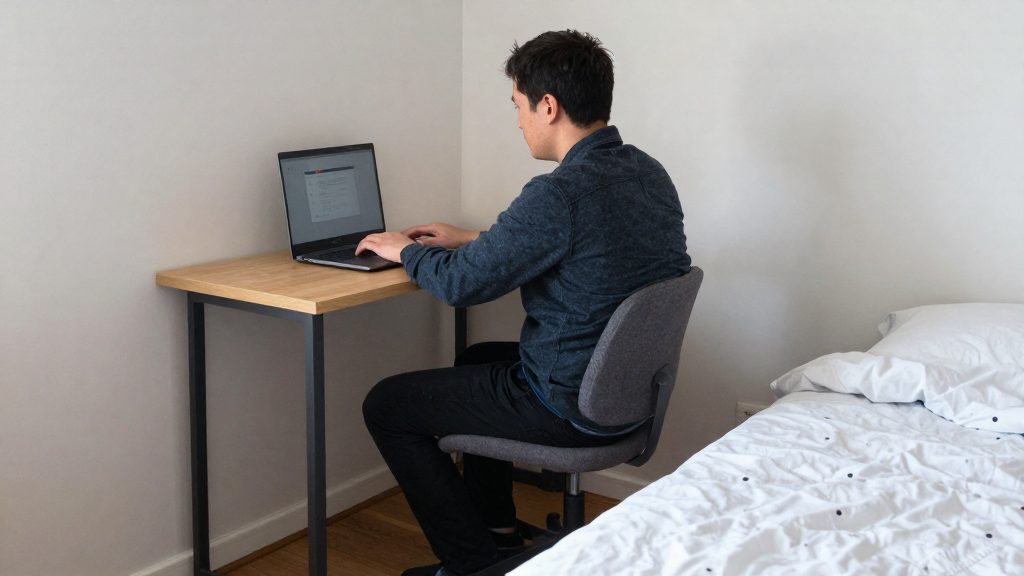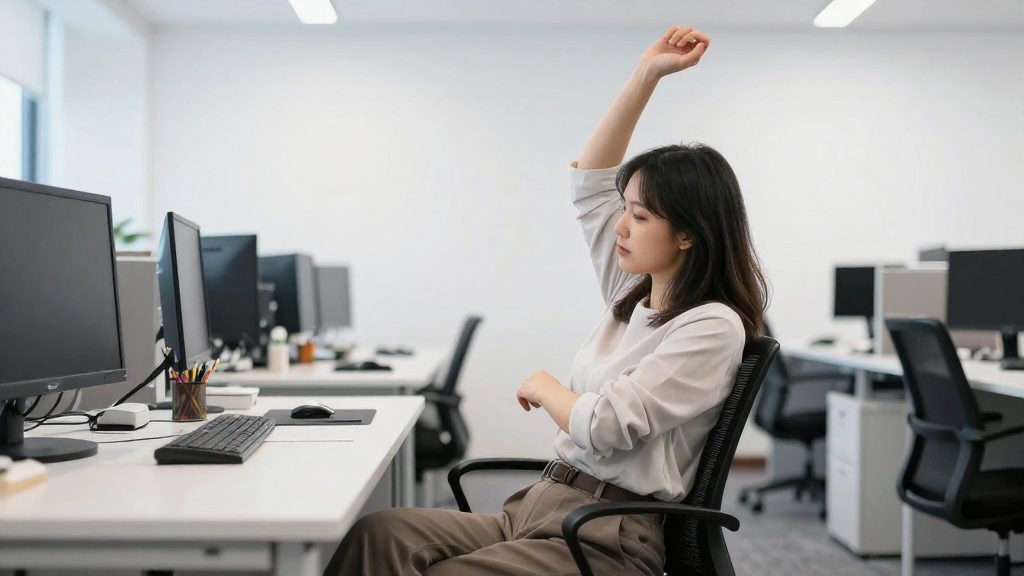
Sitting all day hurts the back and neck mainly because a fixed posture keeps the same tissues under load for hours. Slumping flattens the natural curve of the lower spine and shifts strain onto the discs and ligaments. A forward head position makes the neck and upper back muscles work continuously to hold the head up. Over time, sustained muscle tension can reduce blood flow to these tissues, so discomfort builds through the day.
How a fixed sitting posture loads the back and neck
| Mechanism | Posture that triggers it | Tissues most affected | Typical early sign |
|---|---|---|---|
| Lumbar flexion | Rounded lower back, pelvis tilted back | Lumbar discs, spinal ligaments | Low-back ache that grows over the day |
| Forward head posture | Head ahead of the shoulders | Deep neck flexors, upper trapezius | Stiffness at the base of the skull |
| Static contraction | Any position held without change | Back and neck muscles, local blood vessels | Heavy, tight or sore muscles |
Sustained lumbar flexion and disc loading when slouched
When you slump, the lumbar flexion of the lower spine increases: the pelvis rotates backward and the lumbar curve flattens or reverses. In this position, the intervertebral discs in the lower back carry a different load distribution than in an upright, neutral posture, and the posterior ligaments are stretched. Because a slumped position is usually held without movement, these tissues stay loaded for the entire sitting period. The problem comes mainly from duration. A posture that feels acceptable for a few minutes can become painful after several hours.
Forward head posture and cervical muscle fatigue
When the head moves forward of the shoulders, the neck must counterbalance its weight. The deep neck flexors and the upper trapezius then work continuously to keep the head in place. This forward head posture turns a light, intermittent load into a constant one. Muscles under constant load tire, and fatigue usually shows first as stiffness and a dull ache at the base of the skull or between the shoulder blades. Because the cause is continuous contraction, the discomfort typically increases as the workday goes on.
Static muscle contraction and reduced circulation over time
Static contraction means a muscle stays partly tensed without changing length. Dynamic movement helps pump blood through working muscle. A held contraction may compress the local vessels, which can reduce blood flow to the tissue. Over hours, this can leave the back and neck feeling heavy, tight or sore. Changing position regularly interrupts this pattern, which is why one posture held for a long time causes more problems than the same posture varied over the day.
Set up your chair before you stretch
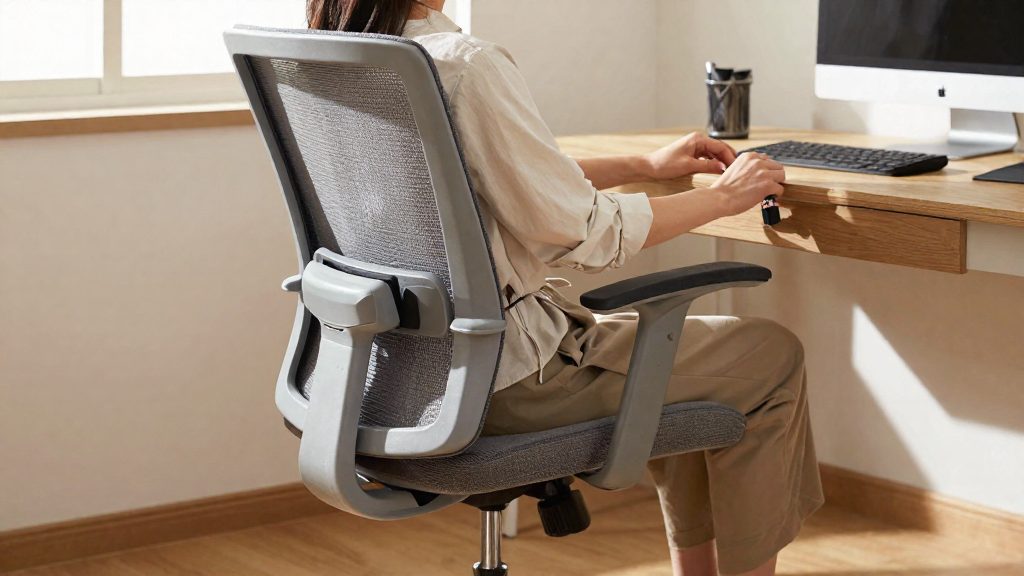
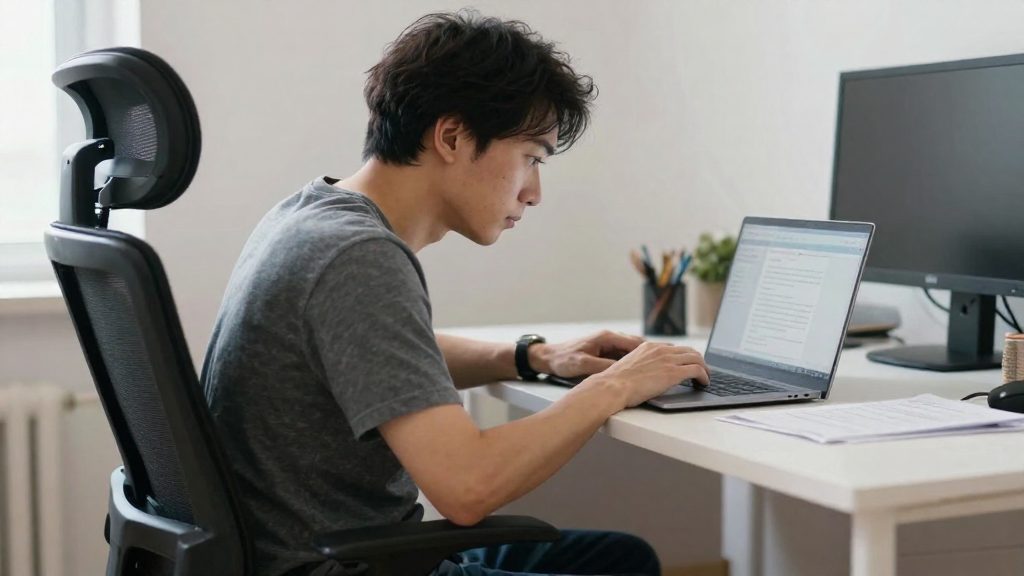
Chair yoga works best when the body has a stable base before any pose begins. Set the chair so your weight rests on the seat, your feet are supported, and your spine can stay upright without effort. Adjust in this order: seat height, feet, then backrest. Start movement only after all three are in place, because stretching from a slumped position loads the lower back instead of lengthening it.
Seat height. Adjust the seat so your feet rest flat and your knees sit at or slightly below hip level. If the seat is too high, your feet will not be supported. If it is too low, your knees rise above your hips, which tends to roll the pelvis backward and flatten the lower back. Slide back until your sitting bones rest on the seat, not the front edge.
Feet. Place both feet flat on the floor. If your feet do not reach the floor, put a block or a sturdy book under them. Yogauonline recommends this when the feet do not reach the floor.
Backrest. Let the backrest support your lower and mid-back while your spine stays tall. Do not press into the chair with your shoulders or lean back to reach it. If the chair cannot be adjusted, VantageFit suggests placing a book under the hips or feet to improve alignment.
Once the seat, feet, and backrest are set, you can begin the seated poses.
Breathing and neck release at your desk
Begin with five deep breaths while seated, before any neck movement. Keep your spine upright, feet flat on the floor, and shoulders relaxed. Let each inhale fill the lower ribs first, then the upper chest, and exhale slowly. This short pause lets you settle into the chair so the neck work starts from a stable posture.
Next, do the neck stretch. Tilt your head toward one shoulder without lifting that shoulder, and hold for two to three breaths. Return to center, then repeat on the other side. Keep the movement small and let gravity do most of the work. Do not pull the head further with your hand.
For neck rolls, move the head in slow, controlled half-circles. The sources give different counts, and the unit differs between them:
| Movement | Count | Source |
|---|---|---|
| Deep breathing before stretching | 5 breaths | Yogauonline |
| Neck stretch | 2–3 breaths per side | Yogauonline |
| Neck rolls | 3–5 per side | VantageFit |
| Neck rolls | 3 per direction | Boston Magazine |
Use the lower count if you are new to the movement, then increase only if the range stays comfortable. Avoid fast circling, because speed makes it harder to control the range of motion.
Seated cat-cow and twists for the spine
This section covers three spinal movements you can do in a chair: seated cat-cow, a seated spinal twist and a seated forward bend. Each one moves a different part of the spine within a controlled range. Breath counts and twist timing are covered in the timing section, so this section focuses on movement quality. Boston Magazine lists seated cat-cow at 4 repeats.
| Movement | Main mobility | Limit from the source |
|---|---|---|
| Seated cat-cow | Pelvis, then ribcage | 4 repeats (Boston Magazine) |
| Seated spinal twist | Lower to upper spine rotation | — |
| Seated forward bend | Hip hinge with a long spine | Straight spine matters more than depth (Yogauonline) |
Seated cat-cow: pelvis first, then ribcage
Sit toward the front of the chair with both feet flat. The movement starts at the pelvis. On the inhale, tilt the pelvis forward so the lower back arches slightly and the chest lifts. On the exhale, tilt the pelvis back so the lower back rounds, then let the ribcage follow, with the upper back curving and the shoulders rolling forward a little. Keep the head last in the sequence so the neck follows the spine rather than leading it.
Keep the motion small and continuous, like a slow wave moving up the back. A large range that begins in the upper back tends to shift the work away from the pelvis and ribcage, which is the purpose of this exercise.
Seated spinal twist: stop at the pain-free point
Sit tall, place one hand on the outer thigh and the other on the chair back or armrest, and rotate from the base of the spine upward through the ribcage. Keep the hips facing forward so the rotation comes from the spine rather than from the hips sliding sideways.
Yogauonline advises twisting only as far as is pain-free. The end point varies from day to day, so the goal is a comfortable stretch, not a fixed depth. Stop any movement that produces pain.
Seated forward bend: length over depth
Sit near the front edge of the chair with both feet on the floor. Hinge forward from the hips while keeping the spine long, then lower the torso only as far as the spine can stay straight. Yogauonline states that a straight spine matters more than depth.
Stop the bend as soon as the back begins to round. A shallower bend with a straight spine gives more benefit for mobility than a deeper bend that rounds the lower back.
Hip and shoulder stretches in your chair
Hip and shoulder moves in chair yoga depend on alignment more than on depth. Before you start, sit on a stable chair without wheels, or lock the casters, with both feet flat on the floor. Keep your spine long, move slowly, and stop at any pinching in the hip, knee, or shoulder.
Seated figure four
Sit toward the front of the seat. Cross one ankle over the opposite thigh, just above the knee, so the legs form a figure “4.” Keep the flexed foot on the crossed leg to reduce strain on the knee. Keep the uncrossed foot on the floor and your level hips square to the front. Lean forward slightly from the hips until you feel a stretch in the outer hip of the crossed leg. Don’t push the crossed knee outward with your hands.
Chair pigeon
Chair pigeon is a more upright variation. Place one ankle on the opposite thigh with the shin angled forward, and keep the foot flexed so the stretch goes into the hip rather than the knee. Keep your chest tall.
| Pose | Foot and leg cue | Alignment check |
|---|---|---|
| Seated figure four | Ankle on opposite thigh, foot flexed | Hips level, lean from the hips |
| Chair pigeon | Ankle on thigh, shin angled forward, foot flexed | Chest tall |
Desk eagle arms
Sit tall and extend both arms forward at shoulder height. Cross the right arm over the left, bend both elbows, and wrap the forearms so the palms meet if possible. Lift the elbows to shoulder height and hold for 3–5 breaths per side (VantageFit). Release, then repeat with the opposite arm on top. Keep the shoulders down, away from the ears.
Wrist rotations
Extend your arms forward at shoulder height, with fists closed or hands open. Rotate the wrists 10 times in each direction (VantageFit). These moves target the wrist joints used during typing and mouse work, and they can be done between other poses.
Chair-adapted Warrior variations
Warrior I and Warrior II can be done seated, using the chair as a stable base (Yogauonline). In a seated Warrior II, sit tall with one leg extended to the side, arms out at shoulder height, and your gaze over the front hand. For a seated Warrior I, lift the arms overhead with palms facing each other while keeping the spine upright. Yogauonline lists seated Warrior I and II with 3 breaths, repeated, then switching sides.
How long should you hold each chair yoga pose?
Chair yoga sources time most desk poses in breaths or counts rather than seconds, and they often give a range. Seated figure four is the only pose here timed in seconds: 30–60 seconds per side. The other poses are timed in breaths, counts or repetitions: the seated twist is 5 breaths or 10–20 counts per side, chair pigeon is 10 breaths per side, desk eagle arms are 3–5 breaths per side, neck rolls are 3–5 per side and wrist rotations are 10 per direction. The others use breath-based timing, with a 5-breath or 10–20-count range for the seated twist, 10 breaths for the chair pigeon and 3–5 breaths for desk eagle arms.
| Pose | Suggested timing | Source |
|---|---|---|
| Seated spinal twist | 5 breaths per side, or 10–20 counts per side | Yogauonline; VantageFit |
| Seated figure four | 30–60 seconds per side | VantageFit |
| Chair pigeon | 10 breaths per side | VantageFit |
| Desk eagle arms | 3–5 breaths per side | VantageFit |
Breaths and counts
A breath is a full inhale and exhale, so the timing depends on your breathing pace, not on a clock. A count is a single beat you silently track. The sources do not define how long one count lasts, so keep counts at a steady, unhurried pace. Yogauonline and VantageFit disagree on the twist, so choose one unit per session and apply it consistently rather than switching between them.
Adjusting for a session
Boston Magazine’s low-profile list gives eagle arms as 5 breaths per side, which matches the upper end of the VantageFit range of 3–5 breaths per side. If you run a short break of only a few minutes, use the lower end of each range. A full sequence with a seated twist, figure four and chair pigeon will take longer, so plan your break length before you begin.
When to skip a stretch and see a professional
Stop the chair yoga sequence and consult a physician or physiotherapist when certain symptoms appear. Some signs call for a professional assessment rather than adjusting the stretch, and the fact sheet available for this article does not provide specific thresholds, durations, or diagnostic criteria for them, so the guidance below is qualitative.
Neurological symptoms are the first category to watch. If you notice numbness, tingling, or weakness that spreads down an arm or a leg, stop the movement that triggered it and do not repeat it. These sensations can signal nerve involvement, and a stretch is not the right tool to test them further.
Persistent or radiating pain is the second category. Mild tightness that eases once you rest is generally expected after stretching. Pain that does not settle after rest, or that travels beyond the joint you were working on, should be assessed by a professional before you return to the sequence.
Systemic or acute signs form the third category. Stop immediately and seek medical advice if you experience:
- Dizziness or lightheadedness during or after a movement
- Chest pain or pressure
- Pain or swelling following a recent injury, including a fall or a strain, until a professional has evaluated it
If symptoms resolve completely after you stop and rest, you still benefit from mentioning them to a physician or physiotherapist before resuming the same movement. Keep a short note of which pose triggered the symptom and when it occurred, since this helps the professional assess the situation.
Frequently asked questions
How long should I hold a seated spinal twist at my desk?
Sources give different timings: 5 breaths per side, or 10 to 20 counts per side. Choose one, and twist only as far as feels comfortable, since the pain-free range is the limit rather than a target depth.
My feet don’t reach the floor during the forward bend. What should I do?
Place a block or a stack of books under your feet so they’re supported. Keep your spine straight rather than folding deeper, because a straight spine matters more than how far you reach.
My chair can’t be adjusted for the chair pigeon. Can I still do it?
Yes. Keep the front foot flexed to protect the knee, and place a book under your hips or feet to improve alignment.