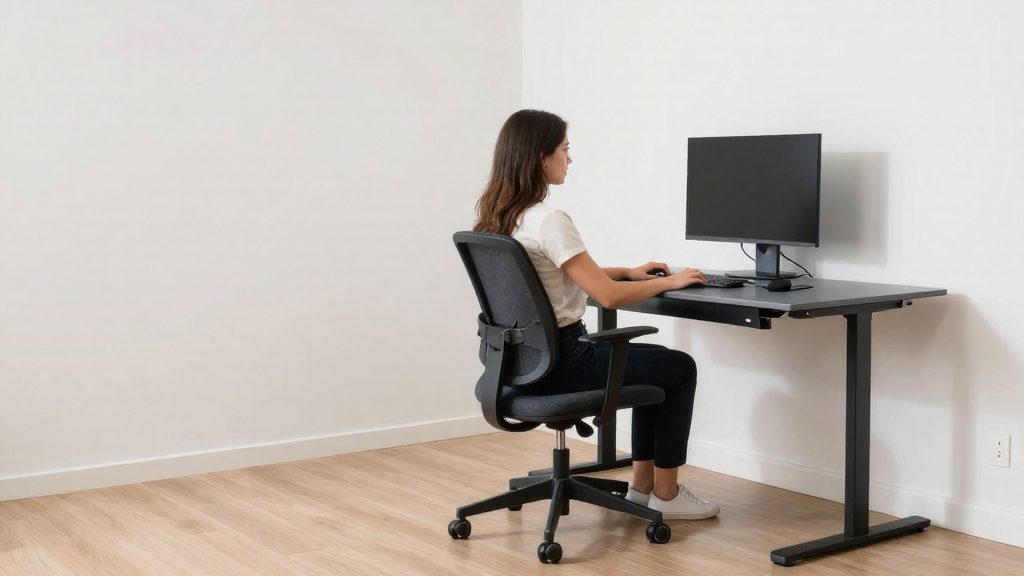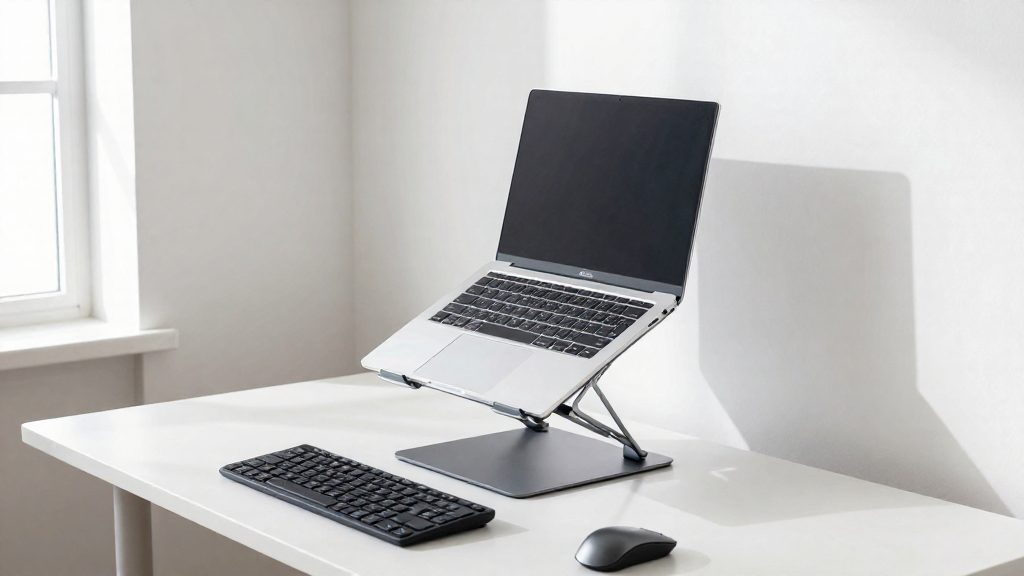
Choose a stand that supports the laptop securely, allows suitable screen placement, and preserves the computer’s ventilation, while using a separate keyboard and mouse at a comfortable height. Consider portability if you regularly move the stand. These criteria come before any decision about height or desk layout. According to the University of Pennsylvania Environmental Health & Radiation Safety (2025-07-29), a laptop placed directly on a desktop does not allow its screen and keyboard heights to be adjusted independently to suit the user, which is the main limitation a stand is meant to solve.
What makes a laptop stand ergonomic?
Height and tilt adjustment mechanisms
An adjustable stand can help you accommodate different setups, but a fixed stand can also be suitable if it positions the screen correctly. Check how the adjustment mechanism works before buying, because the mechanism determines how easily you can reposition the screen during the day.
OSHA’s guidance on tabletop sit-stand converters states that they should raise and lower easily and fit securely on the desk (Occupational Safety and Health Administration). Apply the same test to a laptop stand: if adjusting it requires tools, two hands, or lifting the laptop off the base, you are less likely to change position as often as the workday requires.
Tilt matters as much as height. Check whether the laptop’s hinge provides a comfortable screen angle at the required height; adjustable platform tilt may offer additional flexibility.
Open base ventilation
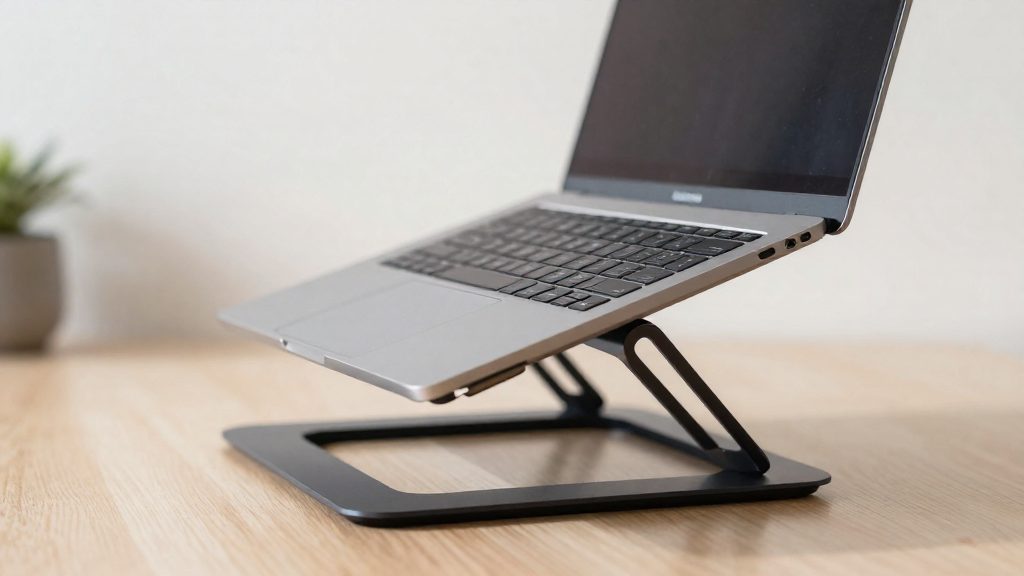
A laptop generates heat during use, and a closed or solid base can trap it. Choose a stand with an open base ventilation design, meaning the underside of the laptop stays exposed to air rather than resting on a flat, enclosed surface.
Check the product’s photos and description for open or mesh bases. This information is usually listed in the manufacturer’s specifications.
Weight and portability
If you move your laptop between a desk, a meeting room and home, portability becomes a daily criterion. A heavier stand is harder to carry, but a very light one may not hold your equipment securely.
Check two figures on the manufacturer’s page: the stand’s own weight and its rated load capacity. OSHA advises that tabletop converters accommodate the size, weight and quantity of the equipment placed on them (Occupational Safety and Health Administration). If you add an external monitor or accessories, add their weight to the laptop’s weight when you check the rated capacity.
Will it reach your standing height?
For standing use, the desk, stand and open laptop together must position the top of the screen at your standing eye level. If you also plan to work seated, check that the setup can reach a suitable seated screen height. No universal eye-level figure applies to every user, and no single stand suits every height, so compare your own measurement with the manufacturer’s specifications.
Matching the maximum height to your standing eye level
Measure your standing eye level while wearing your usual work shoes and holding your normal posture. Compare your floor-to-eye measurement with the combined height of the desk, the raised stand platform and the top of the open laptop screen. Confirm how the manufacturer measures the stand’s height.
Reading the minimum and maximum specifications
- Check that both values are given in the same unit, inches or centimeters.
- Confirm whether the figure refers to the stand’s full raised height or to a specific platform position.
- Use the manufacturer’s current specification sheet, not a third-party description.
The two figures for the same product can differ. UCLA Ergonomics describes the WorkEZ Executive as rising to 22 inches, while its specifications on the same page list a maximum height of 21 inches. Verify the current manufacturer’s specifications before quoting either value.
Height gap on a standard desk
Measure your desk height and standing eye level from the floor, then measure the vertical distance from the laptop’s supporting platform to the top of its screen at the intended screen angle.
- Required platform rise = standing eye level − desk surface height − screen-top height above the platform.
- Check whether the stand’s platform adjustment range includes this rise, using the manufacturer’s measurement reference.
Verify the resulting screen position with the laptop in place.
Laptop stand or standing desk converter?
For a standing workstation with several devices, the choice depends on whether you need to set the screen and keyboard at different heights and how much equipment you need to carry.
Why a laptop on the desk lacks independent height adjustment
When the laptop sits flat on the desktop, its screen and keyboard share one surface and one height. Raising the screen to eye level also raises the keyboard. Use an external keyboard and pointing device so their placement can be adjusted independently of the laptop screen.
With a separate keyboard and mouse, the laptop only needs to be raised or lowered for screen height, which makes a multi-device setup a better fit for a tabletop converter.
Converter capacity for equipment size and weight
OSHA states that a tabletop sit-stand converter should accommodate the size, weight and quantity of your equipment. Before buying, list each item you will place on it and compare the total with the manufacturer’s stated capacity:
- Laptop, external monitor, keyboard, mouse and any docking station: note the footprint and weight of each item.
- Converter specifications: find the maximum load and platform size in the product label or manufacturer’s instructions.
- Layout: confirm that the keyboard and mouse fit on the platform alongside the laptop.
Raising and lowering effort across converter models
Lift effort varies by model and by load, so compare models by testing rather than relying on a general figure. With your full equipment in place, raise and lower the unit several times and check that it moves smoothly, holds each height without drifting, and that the mechanism operates without strain. Read how the manufacturer describes the lift mechanism, since this indicates how the unit is operated.
Frequency matters as much as effort. Changing position several times a day means you will raise and lower the converter often. A model that is easy to adjust with your actual load reduces the chance that you will skip position changes.
Set screen and keyboard heights
Setting the screen and keyboard heights separately lets your eyes, elbows and upper arms reach their target positions.
Screen top at eye level
Set the eye level reference first. UCLA Ergonomics recommends that the top of the laptop screen sit at eye level, because sustained or awkward neck bending can contribute to neck discomfort.
- Sit or stand in your usual working posture.
- Raise or lower the screen until the top edge is level with your eyes, not the middle of the display.
- Adjust the screen angle so you look at the upper part of the display without tilting your head.
Keyboard at elbow height
OSHA recommends positioning the keyboard at approximately elbow height. Because the built-in keyboard of a laptop cannot be moved away from the screen, use an external keyboard so its height can be set on its own. For typing, keep your upper arms close to your body, as Mayo Clinic (2023-05-25) advises.
OSHA also gives a keyboard-height adjustment range of 36 to 46.5 inches for standing work surfaces. Check that your surface or stand reaches the height your elbows require within that range.
Desk depth for the viewing distance
OSHA states that the work surface should be deep enough to place the monitor at least 20 inches from your eyes. Measure this distance in your working posture:
- Sit or stand as you normally work.
- Measure from your eyes to the centre of the screen with a tape measure.
- If the distance is under 20 inches, move the screen back or use a deeper surface. Keep room for the external keyboard as well.
Check stability, fit, and desk space
Before you rely on a laptop stand at a standing desk, confirm that it stays flat, does not rock, and leaves room for cables and the open lid.
Base footprint and tipping resistance
- Confirm that the whole base rests on the desk surface and does not overhang the edge.
- With the laptop in its working position, press gently on the front edge of the laptop, then on the top corner of the lid. The stand should not rock, slide or lift at either point.
- Raise and lower the stand through its full range and watch for movement on the desk. If the stand shifts, stop using that configuration and check its setup, locks, surface contact and equipment balance against the manufacturer’s instructions before resuming use.
- Compare the stated limits and feet design with the manufacturer’s instructions for your model.
Securing the stand to the desk surface
Use any anti-slip feet or locking mechanism the manufacturer provides. Make these adjustments before you place the laptop on the stand, not after. If the desk surface is uneven, follow the manufacturer’s leveling instructions rather than adding loose objects under the base.
Cable clearance and lid clearance
- Route the charger and any USB cables behind or beside the stand so that they cannot pull the laptop or catch on the base.
- Raise the stand to its highest setting and open the lid to its maximum angle. Check that the lid does not contact a wall, shelf, monitor arm or the desk surface behind the laptop.
- Repeat the check at the lowest setting, where the lid may sit closer to the desk.

Choose an external keyboard and mouse
A laptop stand lifts the screen and the built-in keyboard together, because they form one hinged unit, so the keyboard cannot be set to a comfortable typing height on its own.
OSHA recommends an external keyboard and pointing device for laptops, since built-in laptop keyboards are generally unsuitable for prolonged typing. UCLA Ergonomics advises placing the top of the screen at eye level to avoid sustained neck bending, which fixes the screen height and leaves the keyboard height dependent on it. A separate keyboard removes that dependency.
When typing or using a mouse, Mayo Clinic (2023) advises keeping the wrists straight. This neutral wrist posture is easier to hold when the keyboard can be moved independently of the screen and placed where the forearms rest without bending the wrists up, down, or sideways.
| Component | Recommendation | Source |
|---|---|---|
| Keyboard | External, positioned separately from the screen | OSHA |
| Wrists | Kept straight while typing and clicking | Mayo Clinic (2023) |
| Mouse | Within easy reach, on the same surface as the keyboard | Mayo Clinic (2023) |
Alternate sitting, standing, and movement
A standing workstation reduces static posture only if you change position regularly. Mayo Clinic (2023-05-25) states that an ergonomic workstation still requires changes of position and movement, and advises walking throughout the workday and doing some work standing when possible. Standing at one fixed height for hours replaces one static posture with another. The reviewed sources do not establish a universal sitting-to-standing ratio or maximum safe standing duration. Change position regularly, include movement, and adjust your routine if discomfort develops.
Scheduling position changes
- Fixed intervals: Set a timer or calendar reminder and switch positions at each prompt, rather than waiting for discomfort.
- Blocks in each position: Alternate sitting and standing blocks, and avoid long uninterrupted periods in either one.
- Log the pattern for a week: Note when you switch and when discomfort appears. Use this record to identify patterns in your position changes and discomfort and to inform adjustments to your routine.
Walking during the workday
Short walks between tasks, such as a trip to get water or a call taken while walking, interrupt static posture whether you are sitting or standing. Walking complements position changes; it does not replace them.
Adjusting stand height between positions
For each switch, raise or lower the work surface to the target position before you start the task.